


Tablets are portable, touchscreen devices larger than smartphones but smaller than laptops. They’re light and convenient, and you can take them pretty much anywhere. These devices connect to WiFi+Cellular and run a wide range of applications. More often than not, they have cameras to take photos and videos and may even be compatible with a stylus, allowing you to express your artistic creativity.
Because they serve so many purposes due to being larger and more powerful versions of smartphones, they are suitable for various individuals. Tablets are great for students because they can learn, read, or take notes, but they can also be used by professionals to streamline their work, keep a strict schedule, complete tasks, and so on. They’re ideal for anyone who likes entertainment, such as movies, TV, music, and games, but also for artists, illustrators, graphic designers, and more.
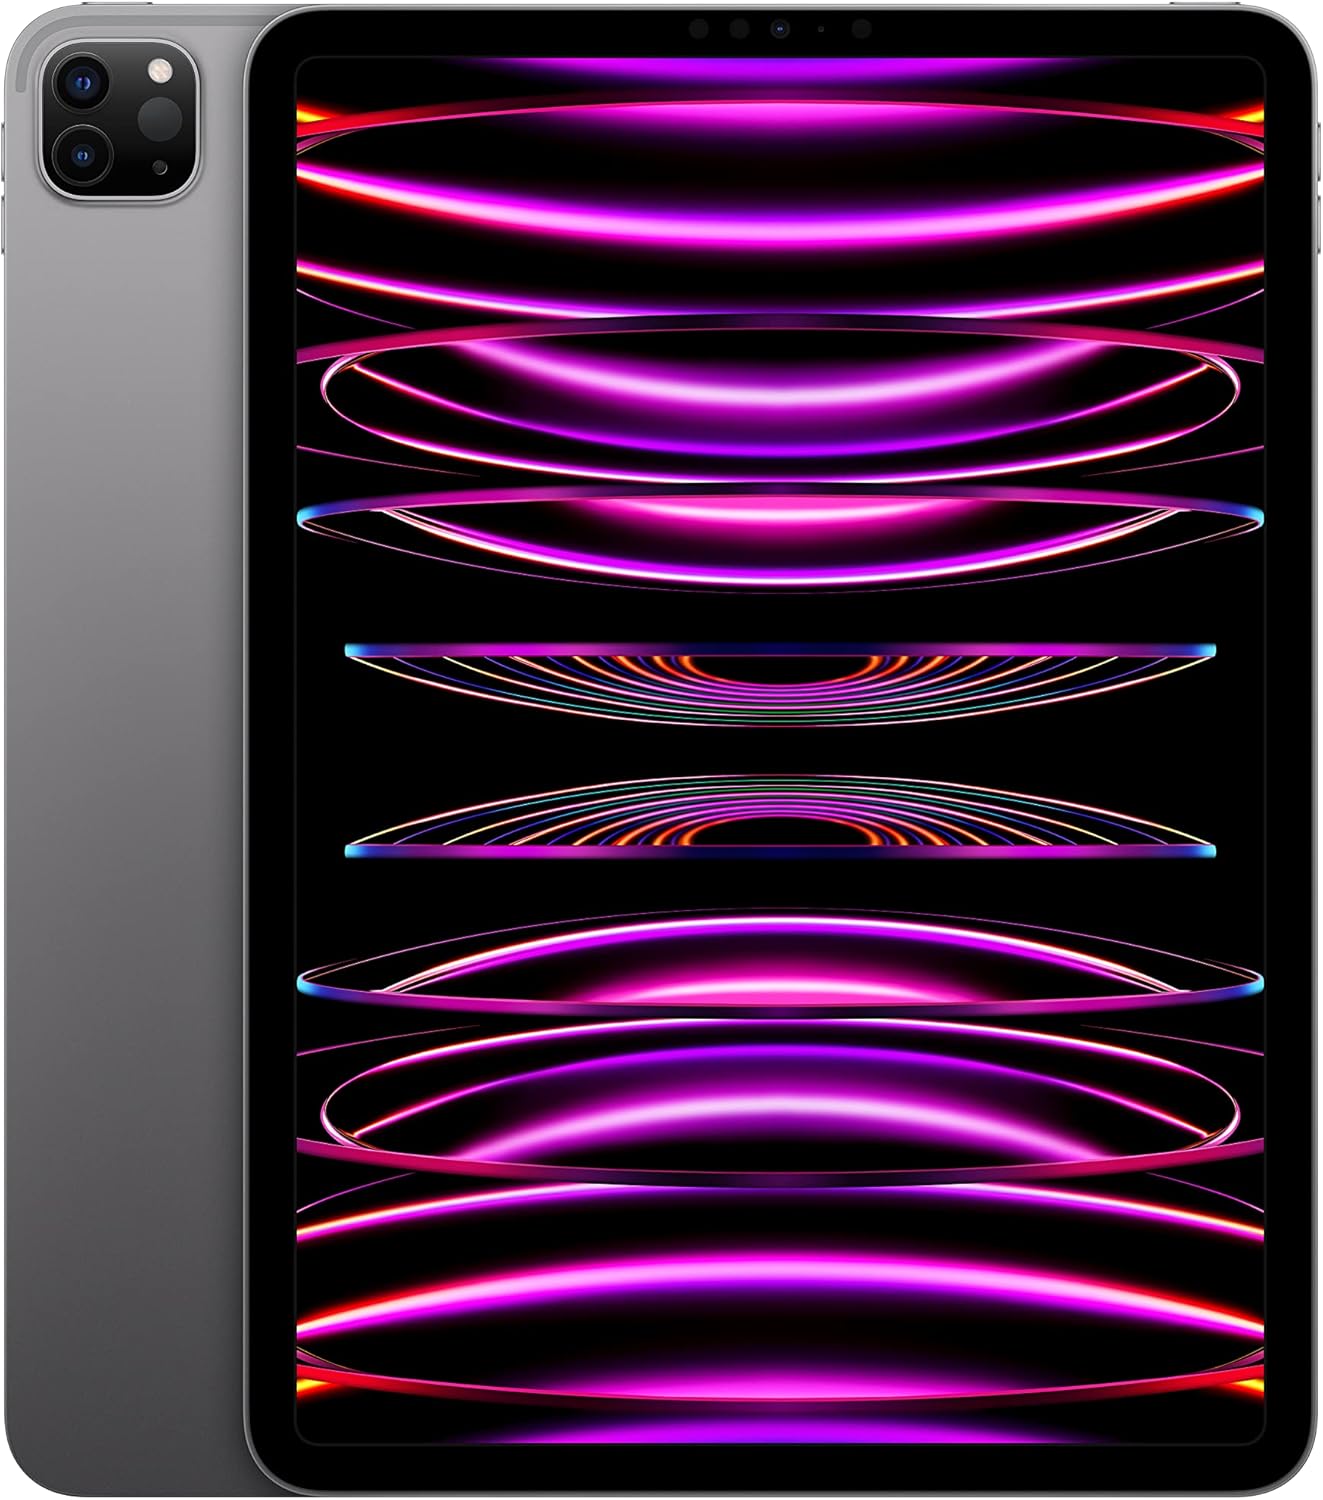
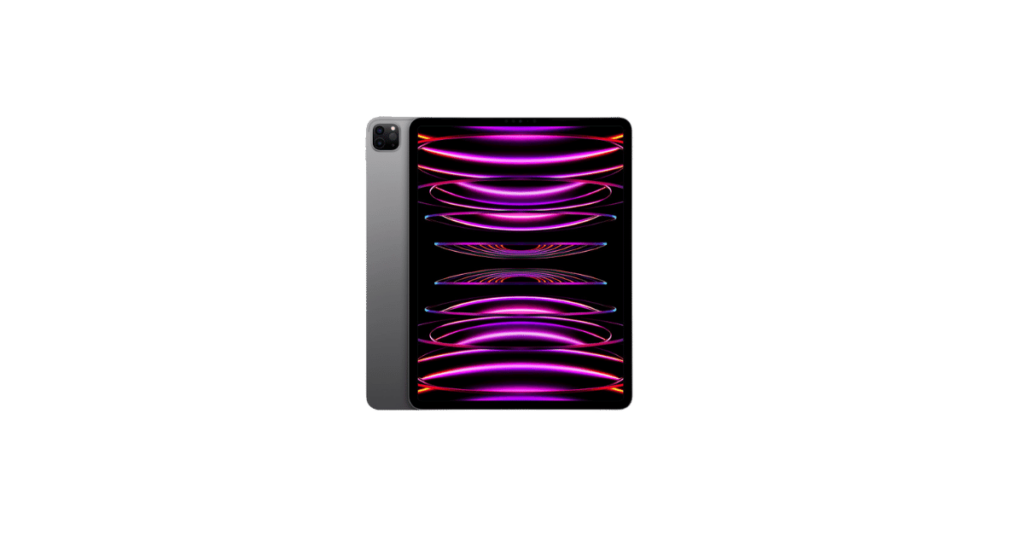
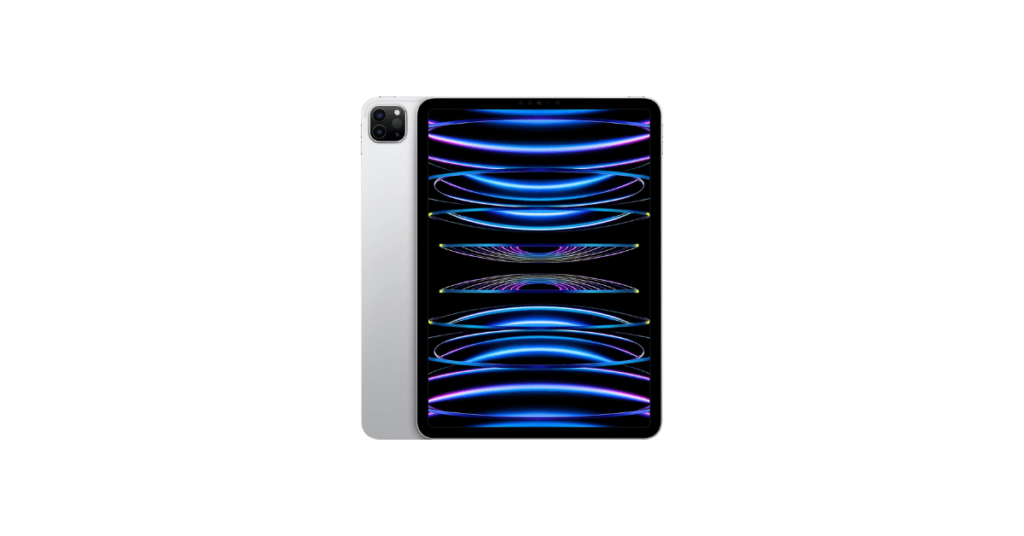
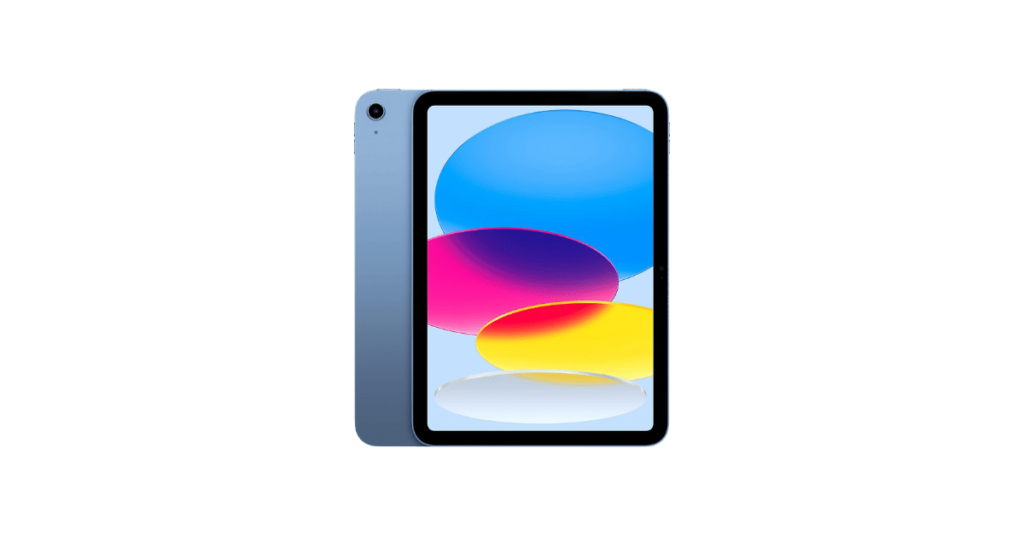
Apple iPad Pro 12.9-inch
| Brand | Apple |
| Operating System | iPad OS |
| Screen Size | 12.9-inches |
| Chipset | Apple M2 |
| Max Storage | 2TB |
| Battery Life | Up To 10h |
| Port | USB Type-C |
| Stylus Support | Yes |
| LTE | Yes |
| Colors | Silver, Space Gray |
If you’re looking for a good tablet with a high-quality screen, outstanding performance, and cellular connectivity, the Apple iPad Pro 12.9-inch is just what you need. This device was released in 2022 and runs on iPadOS 16.1 up to iPadOS 17.4. The unit comes in multiple storage space options, respectively 128GB, 256GB, and 512GB with 8GB RAM, as well as 1TB and 2TB with 16GB RAM. There is no memory card slot, though.
Built from glass and aluminum, the tablet houses a strong screen. It has a 12.9-inch liquid retina XDR mini-LED LCD with a refresh rate of 120Hz. Its peak nits reach 1600. The screen’s resolution is 2048 x 2732 pixels, with a 4:3 ratio and a 265 ppi density.
The Apple device has two cameras, a dual main one with 12MP wide and 10MP ultrawide lenses and an ultrawide 12MP selfie one. The tablet also has a USB Type-C 4 port and a magnetic connector.
This gadget comes with cellular connectivity, allowing you to use an eSIM or nano-SIM. It relies on the Apple M2 chipset and has a non-removable 10758 mAh battery that can last up to more than 10 hours. This makes it ideal for playing games or watching movies.
Furthermore, it’s compatible with a stylus. This is why many people usually buy an Apple Pencil to go with it. It’s ideal for artists who like to draw or students and professionals who need to take notes.
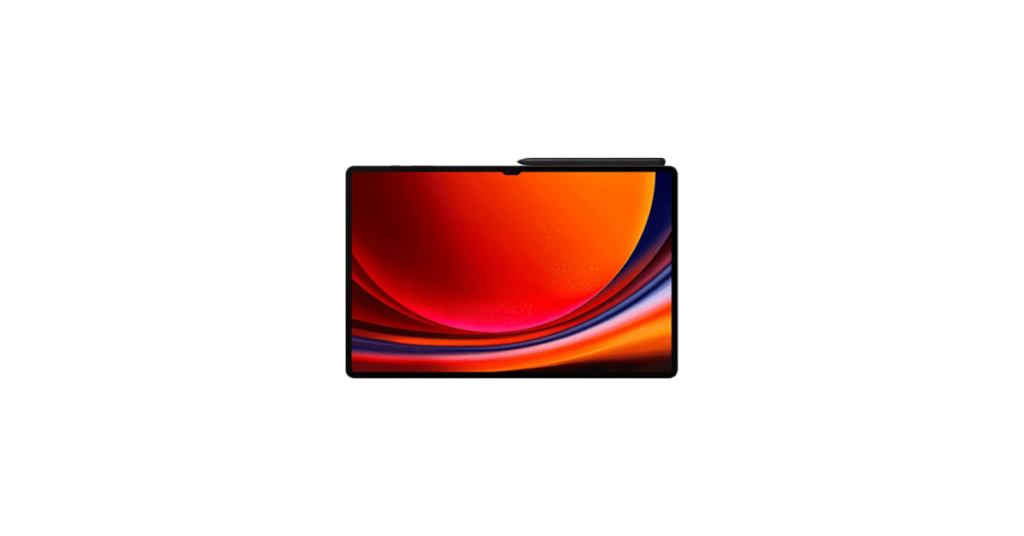
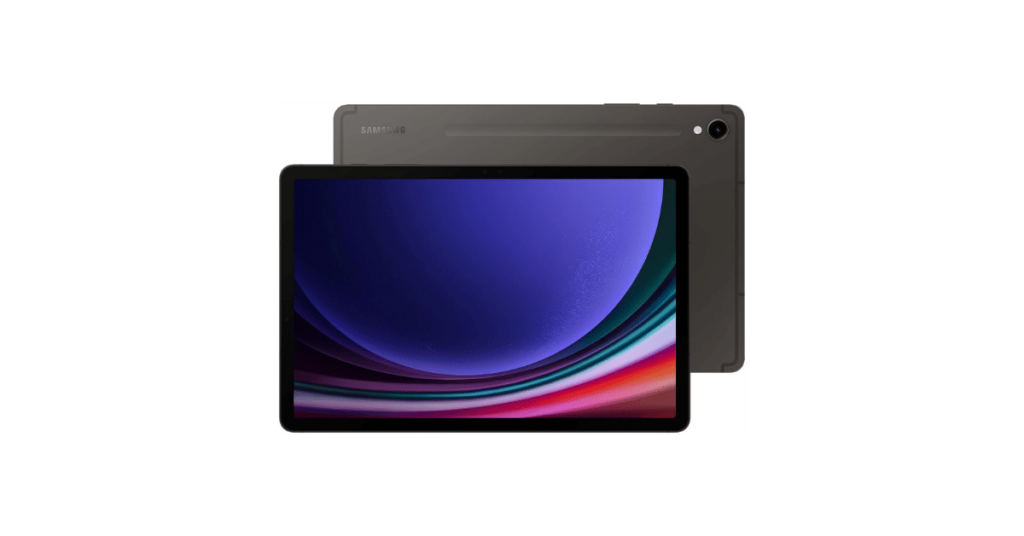
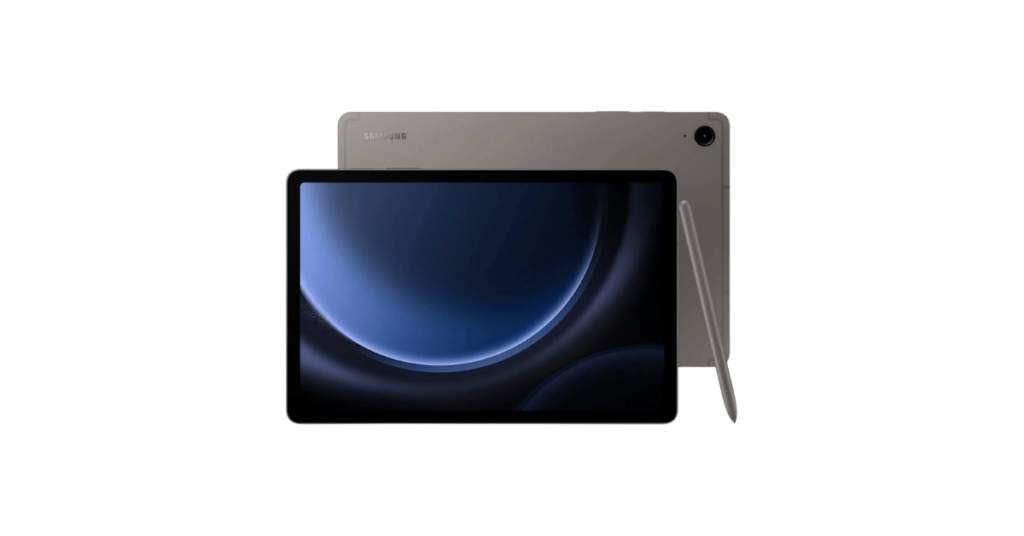
Samsung Galaxy Tab S9 Ultra
| Brand | Samsung |
| Operating System | Android OS |
| Screen Size | 14.6-inches |
| Chipset | Qualcomm SM8550-AC Snapdragon 8 Gen 2 (4 nm) |
| Max Storage | 1TB |
| Battery Life | Up To 10h |
| Port | USB Type-C |
| Stylus Support | Yes |
| LTE | Yes |
| Colors | Beige, Graphite |
The Samsung Galaxy Tab S9 Ultra is available in Graphite and Beige colors, and it’s a great model for those who are into large-screen tablets. It has an aluminum frame and back and a glass front. The display measures 14.6 inches and is a dynamic AMOLED 2x screen. Its refresh rate is 120Hz, with a resolution of 1848 x 2960 pixels, a 16:10 ratio, and a ppi density of 239. Not only that, but it has a ~90.7% screen-to-body ratio as well. It has 592 adaptive nits and 749 HDR nits. The large screen makes it great not only for watching movies but also for drawing.
A notable aspect of this device is that it has cellular connectivity with nano-SIM and eSIM support. It uses a Qualcomm SM8550-AC Snapdragon 8 Gen 2 chipset and has an 11200 mAh battery that can last up to 9 hours and 27 minutes. It also comes with a USB Type-C 3.2 port and a magnetic connector.
The tablet has two cameras. These include a dual main camera with a 13MP wide and 8MP ultrawide lens and a dual selfie camera with a 12MP wide and ultrawide lens. It’s available in several storage options, respectively 256GB, 512GB, and 1TB with 12GB RAM. However, you can also get the 1TB version with 16GB RAM. Fortunately, there’s also a dedicated slot for microSDCX.
The device has stylus support, making it ideal for professionals who must take notes, as well as students. The S Pen is one of its most popular accessories. Many people also get the Galaxy Buds with the tablet. On average, the tablet costs around $1,200.
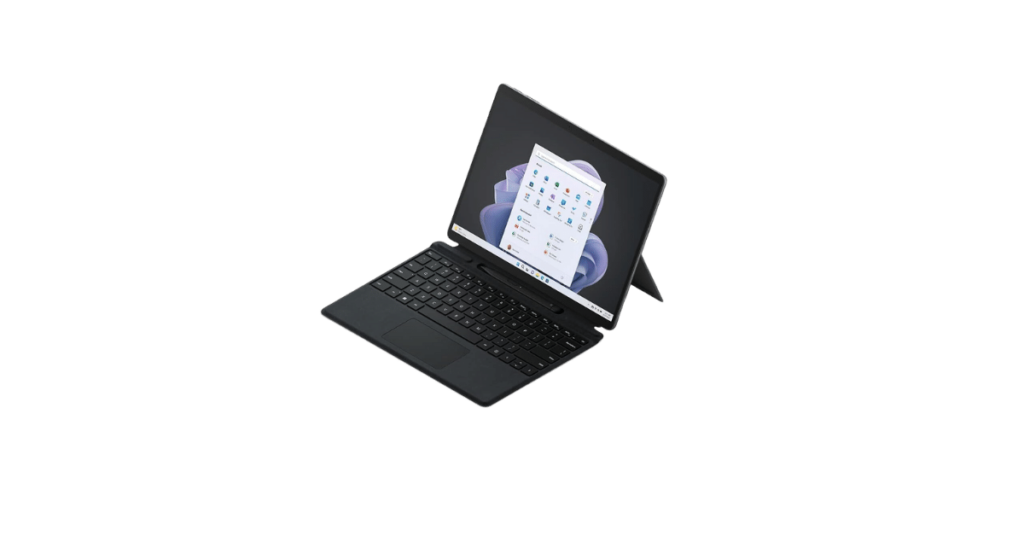
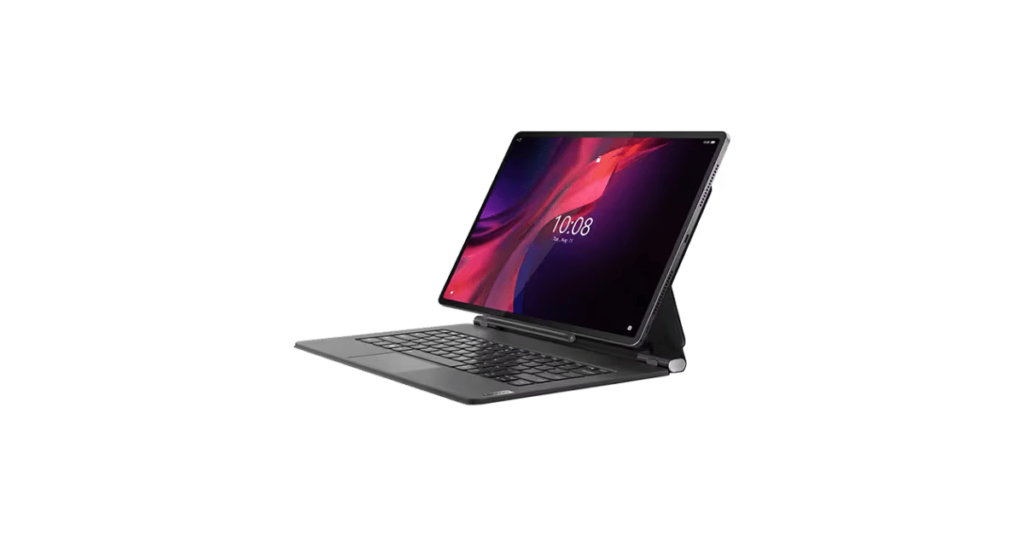
Microsoft Surface Pro 9
| Brand | Microsoft |
| Operating System | Windows OS |
| Screen Size | 14.6-inches |
| Chipset | Intel Evo i7, Microsoft SQ3 |
| Max Storage | 1TB |
| Battery Life | Up To 6h |
| Port | USB Type-C x2 |
| Stylus Support | Yes |
| LTE | Yes |
| Colors | Graphite, Platinum, Sapphire, and Forest |
The Microsoft Surface Pro 9 is the most expensive tablet you can get. This device has a lot to deliver at around $1,799 for its priciest version. It was released in 2022 and features a 12MP rear camera and a 5MP webcam. Furthermore, it has optional 5G connectivity, allowing you to use data when you’re away from a trusted network.
This device comes in several storage space options. You can get its 5G version with a 128GB, 256GB, or 512GB SSD. On the other hand, the version without cellular connectivity is available with 128GB, 256GB, 512GB, or 1TB SSD. It has no MicroSD card slot, though.
This model has a 13-inch screen that peaks at 450 nits. Its display has a 2880 x 1920 resolution and a refresh rate of 120Hz. Also, it has 267 ppi and an aspect ratio of 3:2. The screen-to-body ratio is ~83.9%. To make the screen durable, Microsoft used Corning Gorilla Glass 5, which is damage-resistant. The tablet itself was made from aluminum.
The ports include 2 USB-C ports, 1 Surface Connect port, 1 Surface Type Cover port, and 1 Surface Keyboard port for the 5G option.
With its 47.7Wh battery, this device is advertised to run up to 13 hours. In reality, we could only get 6 hours out of it. It has stylus support as well, and the Surface Slim Pen 2 is an accessory often used with it. Given that the device is also a 2-in-1 laptop, it’s ideal for professionals. You can convert it from a laptop to a tablet and vice-versa and take notes easily. This also makes it a good tablet for students.
The standard version uses the 12th Gen Intel Core i5-1235U and i7-1255U processors, while the 5G one uses a Microsoft SQ 3 processor.
Apple iPad Pro 11-inch
| Brand | Apple |
| Operating System | iPad OS |
| Screen Size | 11-inches |
| Chipset | Apple M2 |
| Max Storage | 2TB |
| Battery Life | Up To 10h |
| Port | USB Type-C |
| Stylus Support | Yes |
| LTE | Yes |
| Colors | Silver, Space Gray |
With a smaller screen but a lot of storage space, the Apple iPad Pro 11 is great if you want an iPadOS model with more portability. It has an aluminum frame and back and a glass front, so it’s just what you need on the go. It features cellular connectivity, including an eSIM or nano-SIM port, so you can access the Internet while traveling.
The Apple tablet can run on iPadOS 16.1 and be upgraded to iPadOS 17.4. Its processor is an Apple M2 one. Furthermore, it has a 7538 mAh battery lasting up to 10 hours.
The model can have 8GB or 16GB RAM, and it comes in 128GB, 256GB, 512GB, 1TB, or 2TB in terms of storage space. There’s no memory card slot. Its cameras include a dual main camera with a 12MP wide lens and 10MP ultrawide lens, and a 12MP ultrawide selfie camera. As for the ports, you’ll be able to enjoy a USB-C 4 (Thunderbolt 4) port, DisplayPort, and a magnetic connector. The device also has stylus support.
The display is only 11 inches, and it’s a liquid retina IPS LCD screen that can reach 600 nits and has a ~82.9% screen-to-body ratio. Its refresh rate is 120Hz. Also, it has a resolution of 1668 x 2388 pixels with a 265 ppi density. The screen uses scratch-resistant glass and oleophobic coating.
When it comes to accessories, the most popular ones include the Apple Pencil and Apple’s Magic Keyboard. This tablet comes in Space Gray and Silver colors and usually costs around $1,100.
Samsung Galaxy Tab S9
| Brand | Samsung |
| Operating System | Android OS |
| Screen Size | 11-inches |
| Chipset | Qualcomm SM8550-AC Snapdragon 8 Gen 2 (4 nm) |
| Max Storage | 256GB |
| Battery Life | Up To 10h |
| Port | USB Type-C |
| Stylus Support | Yes |
| LTE | Yes |
| Colors | Beige, Graphite |
Running on Android 13 and being able to upgrade to Android 14, One UI 6, the Samsung Galaxy Tab S9 is an excellent option for people who want a quality Android device for less money. The unit features a glass front, aluminum frame, and aluminum back, and its display is protected by Corning Gorilla glass. Furthermore, it’s dust and water-resistant. It can also be purchased in Beige and Graphite colors.
The gadget runs on a quality Qualcomm SM8550-AC Snapdragon 8 Gen 2 processor. It has a 13MP wide main camera and a 12MP ultrawide selfie camera. It also features a USB Type-C 3.2 magnetic charger.
In terms of storage space, this tablet only has two options, respectively 128GB and 256GB. The former comes with 8GB RAM, and the latter comes with 12GB RAM. However, a microSDXC slot ensures you can add more storage space. The nano-SIM and eSIM compatibility also allows you to access a 5G connection when you’re away from home. Moreover, the 8400 mAh battery can last up to 10 hours, but on average 7 hours.
The tablet’s display measures 11 inches and has a Dynamic AMOLED 2X screen with a 120Hz refresh rate. It features a 1600 x 2560-pixel resolution, a 16:10 ratio, and a ~83.2% screen-to-body ratio. Besides, its ppi density is ~274. It’s also important to note that it can reach up to 749 nits.
Thanks to its stylus compatibility, many people use it with the S Pen. At the same time, users purchase the Ultra Book Cover Keyboard and the Book Cover Keyboard Slim, which are compatible with Samsung tablets. Overall, the tablet is useful for people browsing social media and students who want to take notes. The device costs $800 on average.
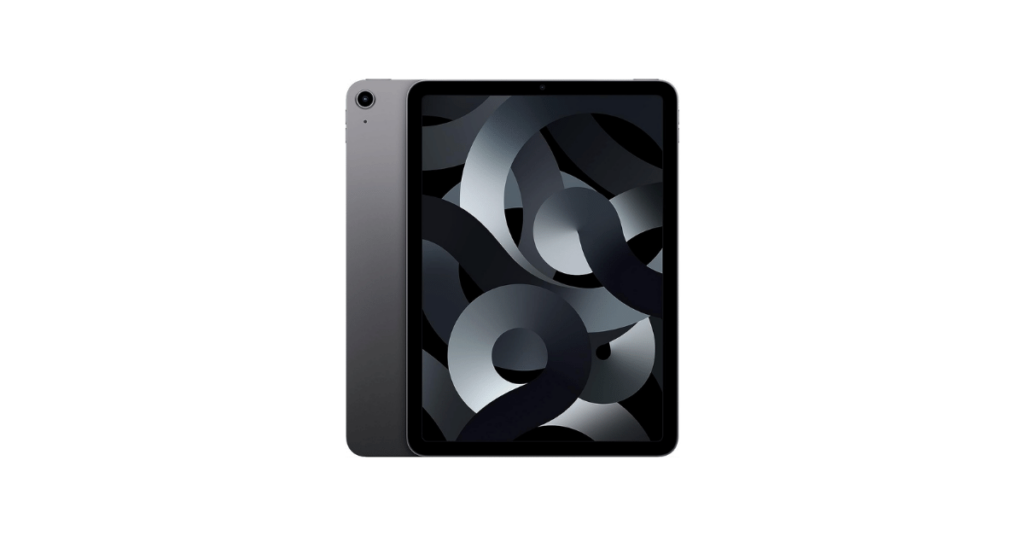
Apple iPad Air
| Brand | Apple |
| Operating System | iPad OS |
| Screen Size | 10.9-inches |
| Chipset | Apple M1 |
| Max Storage | 256GB |
| Battery Life | Up To 10h |
| Port | USB Type-C |
| Stylus Support | Yes |
| LTE | Yes |
| Colors | Space Gray, Starlight, Pink, Purple, Blu |
If you want something more affordable and suitable for several activities, the Apple iPad Air is a great choice. Priced at around $600 and released in 2022, this tablet has a lot to offer. To begin with, it’s quite durable thanks to the aluminum back and frame and glass front. It has an Apple M1 processor and runs on iPadOS 15.4, but it’s upgradeable to iPadOS 17.4.
This device’s screen measures 10.9 inches and has a 1640 x 2360 pixels resolution. It is a Liquid Retina IPS LCD that reaches 500 nits, has a ~264 ppi density, a 60Hz refresh rate, and an 81.3% screen-to-body ratio. Also, it’s made of scratch-resistant glass and uses an oleophobic coating.
This tablet comes with 64GB or 256GB, with 8GB RAM. There’s no memory card slot, though. The USB ports include a USB Type-C 2.1 Gen2, magnetic connector, and DisplayPort. It also supports the 2nd gen Apple Pencil. There are also 2 cameras: a 12MP wide main and a 12MP ultrawide selfie. The 28.6Wh battery can last up to 10 hours.
You can get this tablet in Pink, Blue, Purple, Starlight, or Space Gray. What’s great is that you can also add an eSIM or nano-SIM to it for cellular connectivity. The Apple Pencil 2nd Gen and AirPods Pro are some of the most popular accessories for this tablet. As such, it’s an ideal gadget for listening to music, watching movies, browsing social media, or taking notes.
Lenovo Tab Extreme
| Brand | Lenovo |
| Operating System | Android OS |
| Screen Size | 14.5-inches |
| Chipset | Mediatek Dimensity 9000 (4 nm) |
| Max Storage | 256GB |
| Battery Life | Up To 12h |
| Port | USB Type-C |
| Stylus Support | Yes |
| LTE | No |
| Colors | Storm Grey |
If you’re looking for something with a larger display, the Lenovo Tab Extreme is a good option. It measures 14.5 inches and has an OLED screen. It features a resolution of 1876 x 3000 pixels and a 16:10 ratio. Also, it has a ~244 ppi density and a 88.2% screen-to-body ratio. It can reach up to 500 nits and has a 120Hz refresh rate.
This model was released in 2023 and runs on Android 13. A Mediatek Dimensity 9000 chipset lets you perform many tasks smoothly, whether browsing social media or watching a movie. Its ports include a USB Type-C 2.0 and USB Type-C 3.2, DisplayPort, OTG, and accessory connector. What’s great is that it has 8 stereo speakers, which gives it quality sound. It’s ideal for families who like to listen to music or watch movies together, but even for gamers who want to experience games to the fullest.
It only comes in one size: 256GB. Luckily, it has a microSDXC dedicated slot. The device also comes with 12GB RAM. This model is compatible with a stylus, and a common accessory people get with it is the Lenovo Precision Pen 3.
The main camera is a dual one. The ultrawide option has 5MP, while the wide one has 13MP. On top of that, the selfie camera is a 13MP ultrawide one. Unfortunately, it has no cellular connectivity. Depending on your use, the 12300 mAh battery will last up to 12 hours.
This device was built from aluminum and comes in Storm Grey only. It costs around $930.
Google Pixel Tablet
| Brand | |
| Operating System | Android OS |
| Screen Size | 10.95-inches |
| Chipset | Google Tensor G2 (5 nm) |
| Max Storage | 256GB |
| Battery Life | Up To 12h |
| Port | USB Type-C |
| Stylus Support | Yes |
| LTE | No |
| Colors | Porcelain, Hazel, Rose |
Samsung Galaxy Tab S9 FE
| Brand | Samsung |
| Operating System | Android OS |
| Screen Size | 10.9-inches |
| Chipset | Exynos 1380 (5 nm) |
| Max Storage | 256GB |
| Battery Life | Up To 18h |
| Port | USB Type-C |
| Stylus Support | Yes |
| LTE | Yes |
| Colors | Mint, Silver, Gray, Lavender |
If you’re looking into budget tablets, then the Samsung Galaxy Tab S9 FE is just what you need. It only costs about $575 on average and has many features. Running on Android 13 and being upgradeable to Android 14. this Samsung tablet model lets you access the Internet from anywhere with its eSIM and nano-SIM support. Even better, it’s built from solid aluminum and has a glass front. The unit is dust and water-resistant for better durability.
This device has two cameras: a 12MP ultrawide selfie one and an 8MP wide main one. The tablet has stylus support, a USB Type-C 2.0 port, and a magnetic connector. Furthermore, the 8000 mAh battery can last up to 18 hours! You can get the gadget in 128GB with 6GB RAM or 256GB with 8GB RAM. Moreover, there is a microSDXC dedicated slot that you can use. Also, the tablet runs on an Exynos 1380 processor.
The Samsung tablet has an IPS LCD that measures 10.9 inches. It has a refresh rate of 90 Hz and an 81.7% screen-to-body ratio. Also, it has a 1440 x 2304-pixel resolution, a 16:10 ratio, and a ppi density of ~249. The maximum brightness is 600 nits.
You can get it in Lavender, Gray, Silver, or Mint. On top of that, there are several popular accessories for it, such as the Sparin Screen Protector, Samsung Galaxy Buds FE, and Spigen Rugged Armor Pro Case. This is great for people who want to make video calls or take photos, such as the elderly.
Apple iPad
| Brand | Apple |
| Operating System | iPad OS |
| Screen Size | 10.9-inches |
| Chipset | Apple A14 Bionic (5 nm) |
| Max Storage | 256GB |
| Battery Life | Up To 10h |
| Port | USB Type-C |
| Stylus Support | Yes |
| LTE | Yes |
| Colors | Silver, Blue, Pink, Yellow |
The Apple iPad 10th Gen is a good budget tablet for people who like Apple products. It costs about $630 on average, and you can buy it in pink, silver, yellow, and blue. It has 64GB or 256GB internal storage with 4GB RAM, no memory card slot, a 12MP wide main and a 12MP ultrawide selfie camera. The device was released in 2022 and runs on iPadOS 16.1, but it’s upgradeable to iPad OS 17.4.
Built from aluminum and having a glass front, this unit has an excellent display. It measures only 10.9 inches but has a 1640 x 2360-pixel resolution and can reach 500 nits. The screen is a liquid retina IPS LCD with a ~264 ppi density and a 60Hz refresh rate. The glass is scratch-resistant and has an oleophobic coating.
This gadget runs on an Apple A14 Bionic chipset and comes with stylus support. You can also insert an eSIM or nano-SIM into it for cellular connectivity. The USB ports include a USB Type-C 2.0, a Display Port, and a magnetic connector. It also has a 7606 mAh battery lasting up to 10 hours.
This iPad can be useful for casual Internet use or even for work. The stylus support lets you take notes, and the tablet allows you to multitask. Students would also find this useful for the multitasking and stylus features, but also the lower price.
Some of its most popular accessories are the AirTag, Smart Folio, Apple Pencil, and AirPods.
OnePlus Pad
| Brand | OnePlus |
| Operating System | Android OS |
| Screen Size | 11.61-inches |
| Chipset | Mediatek Dimensity 9000 (4 nm) |
| Max Storage | 256GB |
| Battery Life | Up To 13h |
| Port | USB Type-C |
| Stylus Support | Yes |
| LTE | No |
| Colors | Halo Green |
The OnePlus Pad is a great tablet for children. Released in 2023, this device has a strong aluminum frame and a glass front. It also runs on Android 13 and OxygenOS13.1. It has a Mediatek Dimensity 9000 chipset and 4 good stereo speakers.
First things first, let’s talk about the display. The unit has an IPS LCD screen with a 144Hz refresh rate and 500 nits. Also, it measures 11.61 inches, has a 2000 x 2800 pixels resolution, and a ~296 ppi density. The screen-to-body ratio is ~84.2%.
This tablet has a 13MP wide main camera and an 8MP wide selfie camera. It also comes in 2 versions: 128GB with 8GB RAM or 256GB with 12GB RAM. Sadly, it doesn’t have the option to insert a memory card. The USB ports include a USB Type-C 2.0, OTG, and accessory connector. There’s stylus support as well. However, it has no cellular connectivity.
The only color option is Halo Green, and this tablet costs around $545. This tablet is great for kids thanks to its strong build, smaller screen, and decent chipset. It will last longer and can even run games and videos smoothly enough. Also, the 9510 mAh battery can last up to 13 hours.
In terms of accessories, you can get the OnePlus Folio Case, OnePlus Stylo, or OnePlus Magnetic QWERTY Keyboard.
Amazon Fire Max 11
| Brand | Amazon |
| Operating System | Fire OS, Android OS |
| Screen Size | 11-inches |
| Chipset | Mediatek MT8188J |
| Max Storage | 128GB |
| Battery Life | Up To 14h |
| Port | USB Type-C |
| Stylus Support | Yes |
| LTE | No |
| Colors | Grey |
If you want a Fire OS tablet, then the Amazon Fire Max 11 is just what you need. It only costs about $320 and runs on Android 11 and Fire OS 8. With an 8MP main camera and selfie camera, stylus support, and a MediaTek MT8188J processor, this is great if you want to perform less demanding tasks.
The device features an 11.0-inch IPS LCD screen with an 81.2% screen-to-body ratio, 410 nits, and a 60Hz refresh rate. It has a 2000 x 1200 pixels resolution with a 5:3 ratio and 212 ppi density. The tablet is built from aluminum, and it runs on 4GB RAM. Also, it has 64GB or 128GB of internal storage, and there’s also a microSDXC card slot.
The USB ports include a USB Type-C 2.0, OTG, and a magnetic accessory connector. The 7400 mAh battery can last up to 14 hours. Still, there is no cellular connectivity, and you can only get it in grey.
The device can be paired with the Amazon Stylus pen and the Amazon Fire Max 11 Keyboard Case. It’s a good gadget for students who want to study, take notes and read books. It also works for casual users who want to consume other forms of media, like movies.
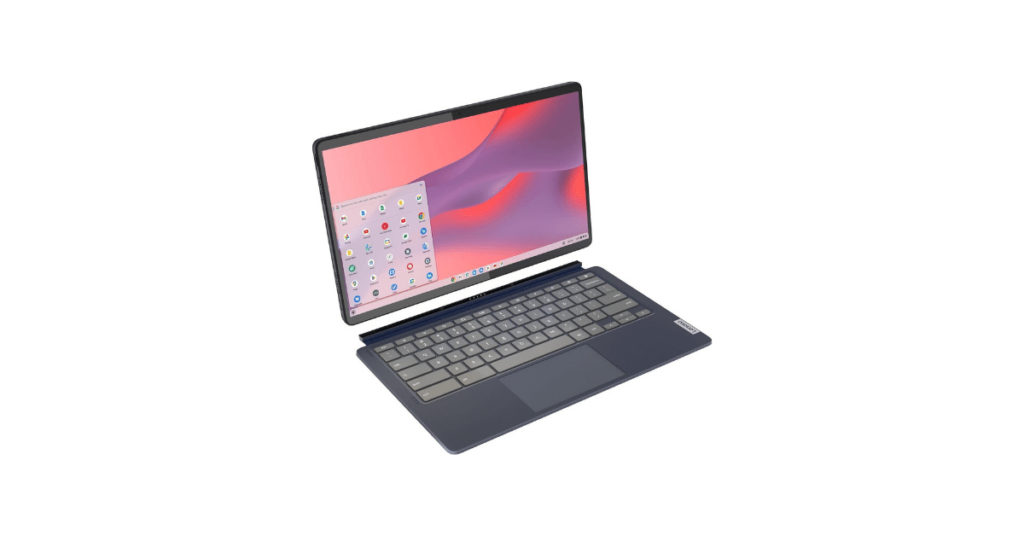
Lenovo IdeaPad Duet 5
| Brand | Lenovo |
| Operating System | Chrome OS |
| Screen Size | 13.3-inches |
| Chipset | Qualcomm Snapdragon SC7180 |
| Max Storage | 128GB |
| Battery Life | Up To 15h |
| Port | USB Type-C |
| Stylus Support | Yes |
| LTE | No |
| Colors | Abyss Blue |
Lenovo IdeaPad Duet 5 is just what you need if you want something with a larger display. On top of being light and portable, this device has a Qualcomm Snapdragon SC7180 processor. It was released in 2021 and works on Chrome OS 32-bit. What’s great is that it has 3 storage space options, respectively 64GB, 128GB, and 256GB. There’s no SD card slot, though. You can get it in 4GB or 8GB RAM, and it only costs $499, making it an affordable option.
The tablet’s screen is 13.3 inches and has a 1920 x 1080 pixels resolution. It’s an OLED display that reaches 400 nits and has a 60Hz refresh rate, with 166 ppi and a 16:9 ratio. The cameras include an 8MP back one and a 5MP selfie one. One downside would be that there’s no cellular connectivity, so you can only use it on WiFi.
This tablet also has a USB-C 3.2 Gen 1 port, and the 42Wh battery gives you up to 15 hours of battery life. It’s available in Abyss Blue and Storm Gray. Its body is built from aluminum, making it stronger.
Because it has stylus support, the tablet is excellent for graphic artists or art students. It also lets professionals and students take notes when necessary. Furthermore, the fact that it’s a 2-in-1 laptop improves productivity.
Some of the most popular accessories include the Lenovo ThinkPad sleeve and Lenovo USI pen.
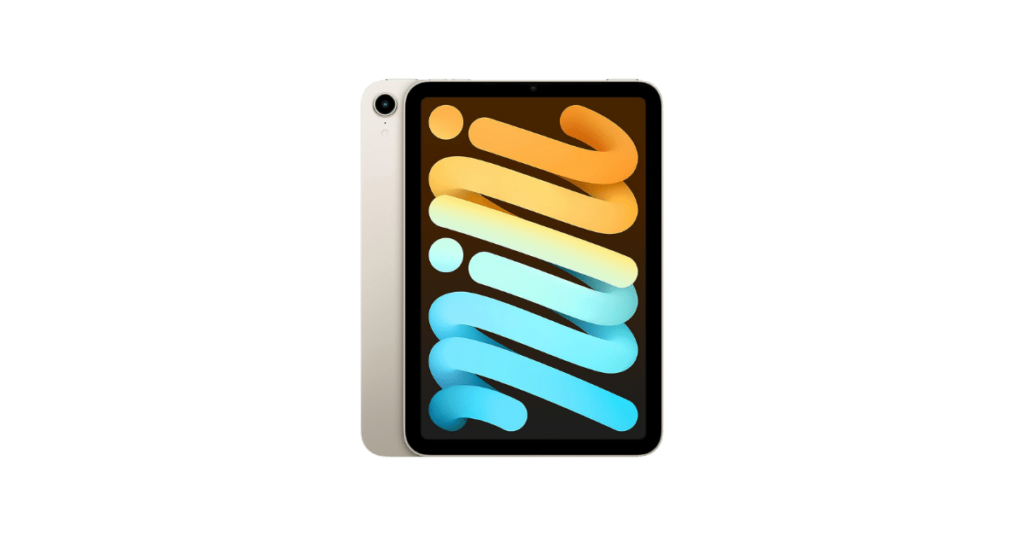
Apple iPad Mini
| Brand | Apple |
| Operating System | iPad OS |
| Screen Size | 8.3-inches |
| Chipset | Apple A15 Bionic (5 nm) |
| Max Storage | 256GB |
| Battery Life | Up To 10h |
| Port | USB Type-C |
| Stylus Support | Yes |
| LTE | Yes |
| Colors | Space Gray, Pink, Purple, Starlight |
Out of all 8-inch tablets, the Apple iPad Mini 6 is one of the best options to go for. This device was released in 2021 and runs on iPadOS 15 but can be upgraded to iPadOS 17.4. It also runs on an Apple A15 Bionic chipset and has eSIM and nano-SIM support. The unit has 4GB RAM and comes with 64GB or 256GB. Still, it has no memory card slot.
The screen is a Liquid Retina IPS LCD with 500 nits, a ~77.4% screen-to-body ratio, and a 60Hz refresh rate. Also, the resolution is 1488 x 2266 pixels, with a ~327 ppi density and a 3:2 ratio. What’s great is that the tablet is built from aluminum and has a glass front. The display uses scratch-resistant glass and has an oleophobic coating too.
There are two cameras, a 12MP wide main and a 12MP ultrawide selfie. In terms of ports, you can enjoy a USB Type-C 3.1, Display Port. You can also use the tablet with a stylus and the Apple Pencil 2nd gen is a standard accessory for it. The MagSafe Charging Case and AirPods Pro are also great accessories for the Apple iPad Mini 6.
This tablet can be bought in Pink, Starlight, Purple, and Space Gray, and it’s only $595 on average. The 6000 mAh battery can run up to 10 hours. Due to its light design, it’s great for people on the go because it’s lightweight and small.
Comparison
| Tablet Model | OS | Release Year | Screen Size | Resolution | Processor | Battery Life | Front Camera | Storage | Cellular Connectivity | Stylus |
| Apple iPad Pro 12.9-inch | iP adOS 16.1, up to iPadOS 17.4 | 2022 | 12.9-inch | 2048 x 2732 | Apple M2 | Up to 10 hours | 12MP | 2TB | Yes | Yes |
| Samsung Galaxy Tab S9 Ultra | Android 13, up to Android 14, One UI 6 | 2023 | 14.6-inch | 1848 x 2960 | Qualcomm SM8550-AC Snapdragon 8 Gen 2 | Up to 10 hours | 12MP | 1TB | Yes | Yes |
| Microsoft Surface Pro 9 | Windows 10 | 2022 | 13-inch | 2880 x 1920 | Microsoft SQ 3, 12th Gen Intel Core i5-1235U, 12th Gen Intel Core i7-1255U | Up to 6 hours | 5MP | 1TB | Yes | Yes |
| Apple iPad Pro 11-inch | iPadOS 16.1, up to iPadOS 17.4 | 2022 | 11-inch | 1668 x 2388 pixels | Apple M2 | Up to 10 hours | 12MP | 2TB | Yes | Yes |
| Samsung Galaxy Tab S9 | Android 13, up to Android 14, One UI 6 | 2023 | 11-inch | 1600 x 2560 | Qualcomm SM8550-AC Snapdragon 8 Gen 2 | Up to 10 hours | 12MP | 256GB | Yes | Yes |
| Apple iPad Air 5h gen | iPadOS 15.4, up to iPadOS 17.4 | 2022 | 10.9-inch | 1640 x 2360 | Apple M1 | Up to 10 hours | 12MP | 256GB | Yes | Yes |
| Lenovo Tab Extreme | Android 13 | 2023 | 14.5-inch | 1876 x 3000 | Mediatek Dimensity 9000 | Up to 12 hours | 13MP | 256GB | No | Yes |
| Google Pixel Tablet | Android 14, up to Android 14 | 2023 | 10.95-inch | 1600 x 2560 | Google Tensor G2 | Up to 12 hours | 8MP | 256GB | No | Yes |
| Samsung Galaxy Tab S9 FE | Android 13, up to Android 14, One UI 6 | 2023 | 10.9-inch | 1440 x 2304 | Exynos 1380 | Up to 18 hours | 12MP | 256GB | Yes | Yes |
| Apple iPad 10th Gen | iPadOS 16.1, up to iPadOS 17.4 | 2022 | 10.9-inch | 1640 x 2360 | Apple A14 Bionic | Up to 10 hours | 12MP | 256GB | Yes | Yes |
| OnePlus Pad | Android 13, OxygenOS 13.1 | 2023 | 11.61-inch | 2000 x 2800 | Mediatek Dimensity 9000 | Up to 12 hours | 8MP | 256GB | No | Yes |
| Amazon Fire Max 11 | Android 11, Fire OS 8 | 2023 | 11.0-inch | 2000 x 1200 | Mediatek MT8188J | Up to 14 hours | 8MP | 128GB | No | Yes |
| Lenovo IdeaPad Duet 5 | Chrome OS 32-bit | 2021 | 13.3-inch | 1920 x 1080 | Qualcomm Snapdragon SC7180 | Up to 15 hours | 5MP | 256GB | No | Yes |
| Apple iPad Mini 6 | iPadOS 15, up to iPadOS 17.4 | 2021 | 8.3-inch | 1488 x 2266 | Apple A15 Bionic | Up to 10 hours | 12MP | 256GB | Yes | Yes |
Criteria
In order to select the best tablets, we used specific factors to compare each model. Here’s what we paid attention to:
Release Year
Knowing the release year of the tablet tells us not only how new or old the device is but also whether it’s up to the current technology standards. We always make sure the models we present are the most recent ones.
Operating System
Tablets can have different operating systems, including Android, iPadOS, ChromeOS, Windows, Fire OS, etc. Which determines tablets layout, features, capabilities, and applications. We included tablets from each because different operating systems may suit different budgets and purposes.
Display
The display determines how good or bad the image is. The better the quality is, the more convenient your use of the device will be. As such, we pay attention to aspects such as resolution, ratio, and PPI density to ensure you can read books, play games, watch movies, and more in better detail.
Display Technology
This affects not only how each pixel is controlled but also the display’s brightness, color representation, and energy efficiency. These impact how good the image looks on the screen, so we pay attention to it when looking into tablet models. OLED, LCD, etc.
Processor
Having a good processor is key to a pleasant experience, as it influences the speed and performance of the device. Furthermore, the processor will also affect how quickly applications open and whether or not you can multitask.

Brand
Tablets are manufactured by different brands and come with their own interfaces, prices, features, capacities, and more. We looked at multiple manufacturers and their best products to ensure you understand what they can offer.
Battery Life
Having a long battery life is preferred whether you use the device at home or take it with you on adventures. When your battery lasts long enough, you will not have to rely on your charger all the time, allowing you to watch movies, play games, read, browse social media, and more.
Storage Capacity
Having a lot of storage space means you can easily store your important photos, videos, games, applications, books, etc. We looked at how much storage tablets have and whether they have memory card slots so you can gain access to more storage.
RAM
This is responsible for storing data that must be used quickly. Having higher RAM is preferred because it improves tablet performance. Basically, it impacts how well the device can open and run multiple apps at the same time.

Camera
Cameras are necessary if you’re a photographer or just someone who likes capturing life’s best moments. Therefore, you need a tablet with an excellent camera to pull this off.

Cellular(LTE)
Cellular connectivity ensures you can connect to the Internet and use your favorite features even when you don’t have access to a WiFi network. A device with SIM support can use data to connect to the Internet when you’re away from your house or a trusted network.
Stylus Support
This ensures you can take notes and draw when necessary. It’s a feature that students, artists, and professionals need, so we looked at devices that offer this option.
Accessories For Tablets
Screen Protectors
Tablets need screen protectors to safeguard against scratches, smudges, impacts, and privacy breaches, preserving their functionality, cleanliness, and resale value.

Stylus Pen
Tablets benefit from stylus pens for precise input, enhanced creativity, and a more comfortable writing and drawing experience, expanding their utility beyond finger-touch interaction.
Keyboard Case
Tablets benefit from keyboard cases by enabling faster typing, convenient multitasking, and a more laptop-like experience for various tasks such as typing documents, emails, or browsing the web.
Must-Have Apps
Tablets are big touchscreen devices, and the apps make them great. Here are some of the most popular apps in the world that you need to install and try out.

Netflix

YouTube
Procreate

Among Us
Duolingo


Zoom

Spotify
Where To Buy Tablets in USA?

Amazon
Amazon: Premier online marketplace offering tablets & tech gadgets. Explore vast selection, competitive prices & fast shipping.

Best Buy
Best Buy: Top destination for tablets & tech. Wide range of products, expert advice, and convenient shopping experience.
Apple
Apple’s site: Hub for iPads & tech. Sleek interface, intuitive browsing. Shop for the latest gadgets and accessories for iPads.

Target
Target: One-stop shop for tablets & tech. Diverse selection, competitive prices, and convenient shopping for all your electronics.

Wallmart
Walmart: Tech hub for tablets & gadgets. Find diverse options, great deals, and seamless shopping for all your electronic desires.
Which Is the Best Tablet in the World?
The iPad Pro 12.9-inch is the best tablet in the world, currently. It has a 12.9-inch screen with a 120Hz refresh rate, and you can get it in up to 2TB with 16GB RAM, giving you plenty of storage space. It has a strong 10758 mAh battery that can last up to 10 hours, and its compatibility with Apple Pencil lets you draw and take notes easily. It also runs on a strong Apple M2 chipset and works without WiFi access due to its cellular connectivity.
Which Tablet Is the Best for Note Taking?
The iPad Pro 12.9-inch is one of the best tablets for taking notes. This is thanks to its compatibility with Apple Pencil 2 and Apple Pencil USB-C, generous 12.9-inch display, and 120Hz refresh rate. Furthermore, there’s a wide range of note-taking apps to choose from, and you can also use screen protectors that feel just like paper, such as the Paperlike Screen Protector.
Which Tablet Is the Best for Gaming?
The Samsung Galaxy Tab S9 Ultra is one of the best tablets for gaming due to its 14.6-inch AMOLED 2x screen with an 1848 x 2960-pixel resolution and 120Hz refresh rate. The Qualcomm SM8550-AC Snapdragon 8 Gen 2 gives it a high processing speed. You can also connect the tablet to your controllers via Bluetooth. Furthermore, you can download the Xbox Game Pass app to play cloud games on your tablet and connect it to Steam through the Steam Link app or your PS5 via the PS Remote Play app.
Which Tablet Is the Best for Families?
The iPad 10th gen is the best tablet for families. It comes in pink, silver, yellow, and blue and only costs $449 at Apple. You can get it for less at Amazon or Best Buy. Moreover, it can run a wide range of apps. You can also use it for various purposes, such as watching movies, browsing social media, multitasking, playing games, drawing, working, and so on.
Which Tablet Is the Best for the Average User?
The iPad Air 5th gen is the best tablet for the average user due to its decent price (only $559) and the fact that it can be used for various tasks. It has a USB-C port and is compatible with the Magic Keyboard and Apple Pencil 2, making it great for entertainment, productivity, studying, and more. Also, unlike the iPad 10th Gen, it has a laminated screen.
Which Tablet Is the Best for the Elderly?
The best tablets for seniors will depend on each person’s OS preference. The Samsung Galaxy Tab S9 FE is the best if you’re used to Android. It only costs $575. However, if you’re more used to iOS, the iPad 10th Gen is your ideal option. This one only costs $630. Both are great for watching movies on HD on their 10.9-inch screens, reading, taking photos with their 12MP selfie cameras, making video calls with friends and family members, playing light games, and so on.
Which Tablet Is the Best for Kids?
The OnePlus Pad is one of the best tablets for kids because it has a low $545 price tag and uses Android 13 and OxygenOS 13.1. It offers good value for the money. It has a strong aluminum construction and is compatible with many colorful cases for kids. The OnePlus Folio Case is the most popular option. The gadget has a high refresh rate of 144Hz and uses a MediaTek Dimensity 9000, making it ideal for playing cool games.
Which Tablet Is the Best for Students?
The iPad Air 5th Gen is the best tablet for students. First of all, it only costs $600, making it more affordable for youngsters on a budget. Secondly, it has a long battery life, lasting up to 10 hours. Also, it’s compatible with the Apple Pencil 2nd Gen and AirPods Pro. This way, you can easily take notes in class or draw, and listen to music in your free time.
Which Tablet Is the Best for Movies?
If you’re looking for the best tablets for movies, then the iPad Pro 12.9-inch is the best device for you. It has a 12.9-inch screen with a 2048 x 2732 pixels resolution, 1600 nits, and 265 ppi. Besides, its battery can run for up to 10 hours.
Which Tablet Is the Best for Drawing?
The iPad Pro 12.9-inch 2022 is the best tablet for drawing. It has a 12.9-inch screen and is compatible with the Apple Pencil. The device has 265 ppi, 1600 nits, a 120Hz refresh rate, and 2048 x 2732-pixel resolution. It also gives you access to Illustrator, Procreate, Photoshop, and other similar apps.
FAQ
What are the best operating systems for tablet computers?
Even though there are various tablet operating systems out there, not all of them are great. Thus, the best operating systems for tablet computers are iOS, Android OS, ChromeOS, Amazon Fire OS, Windows OS, Linux OS, and Harmony OS.
What companies make tablets?
The most popular tablet brands are: Apple, Samsung, Google, Lenovo, Xiaomi, Amazo, Huawei, etc.
What are the most sold tablets?
The most sold tablets are Apple iPads, with about 48.5 million devices being shipped in 2023 alone. Samsung’s tablets are the 2nd most sold tablets, but in 2023, the number of Samsung tablets sold was only around half of those sold by Apple.
Why buy a tablet?
There are multiple reasons to buy tablets. They are portable and lightweight and can be a great option for gaming, taking photos, and browsing social media while traveling. They can keep your children entertained with games and cartoons and can also be used to take pictures and videos, and make video calls. You can even draw on them and take notes using a stylus. Furthermore, tablets allow you to read books, watch movies, and edit photos and videos. In some cases, you can also control smart devices with them.
How much do tablets cost?
Tablets range anywhere from $50 to $2000+. You can get a good budget tablet under $100 for basic tasks like web browsing, social media, and movie watching.

I'm a writer and editor in iPads & Android Tablets, Windows Tablet section. I'm passionate about technology, especially about tablets. I'm on a mission to assist people in discovering their ideal tablets. In addition, I'm dedicated to producing helpful how-to guides and sharing top-notch tips and tricks. In my early carrier I founded and became and editor at worldoftablet and have been a guest author at many other tech blogs. In wolfoftablet I'm focusing on iPads, Tablets, Apple Pencil, Apps, Reviews, Buyers Guides and Tablet Accessories. In free time I like to play games on my PS5 or iOS.